If you are looking for a free desktop virtualization solution and you are running Windows 10, well, in a pinch, you can actually create and run a fully functional Hyper V environment on your Windows installation. Interested? Read on
So the Hyper V is already present in a Windows 10 installation. And enabling the same is pretty straight forward.
For enabling Hyper V, here’s what you need to do:
- For enabling the Hyper V role via the Powershell, well, it’s a one command option
Click Start – type in Powershell and right click – run as administrator
Then, run the below command
#Enable-WindowsOptionalFeature -Online -FeatureName Microsoft-Hyper-V -All
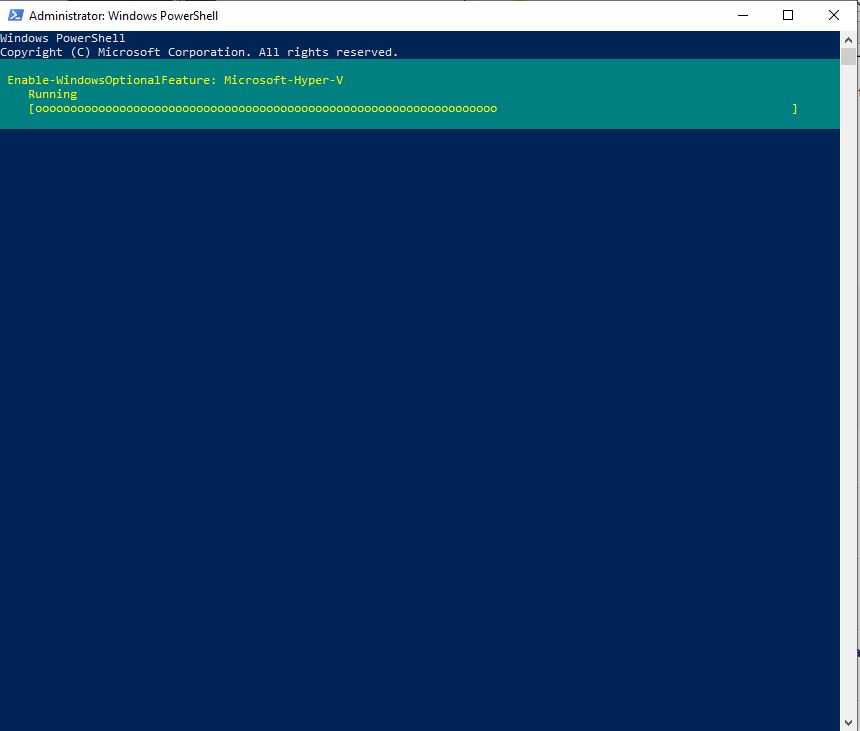
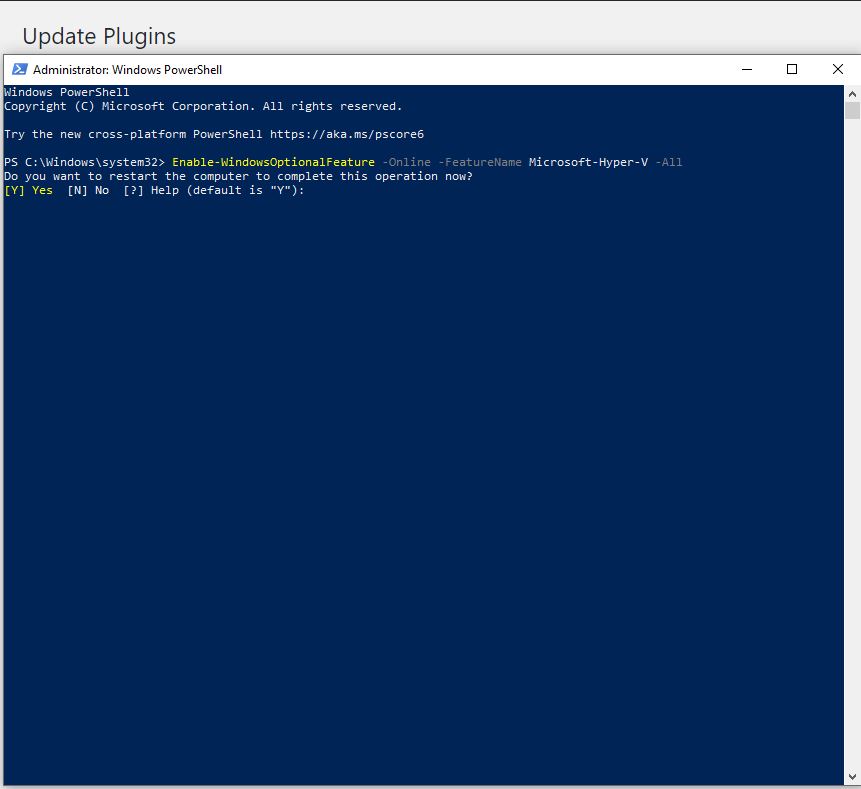
So at this point, reboot, and you are done!
This can also be done using the below CMD or Powershell command
#DISM /Online /Enable-Feature /All /FeatureName:Microsoft-Hyper-V
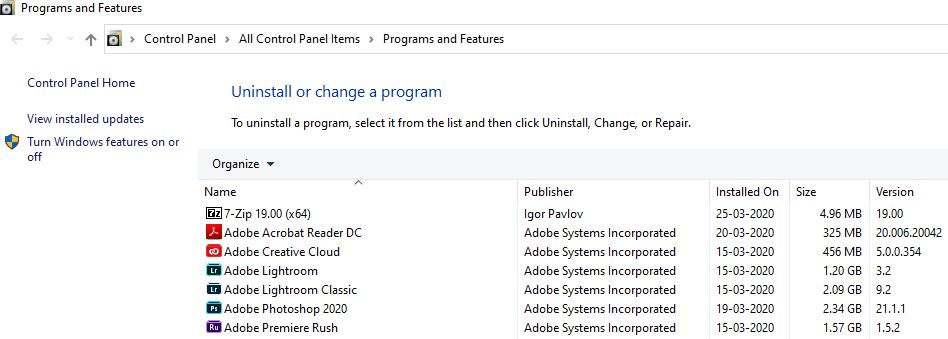
Now, if you are more the visual person, you can go to Programs and Features – Turn Windows Features On/Off and choose the Hyper V role
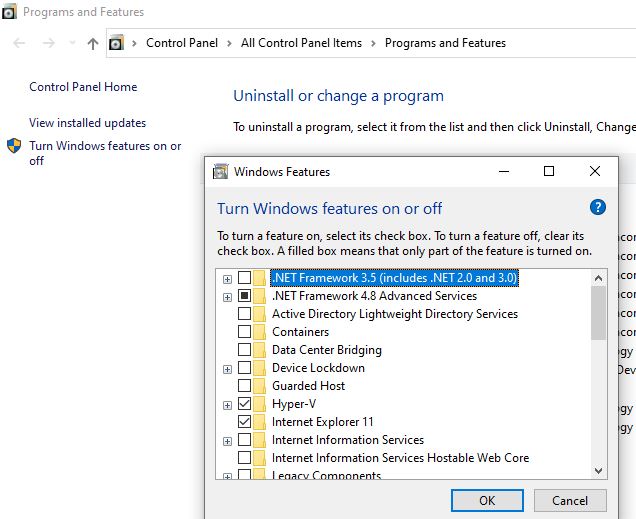
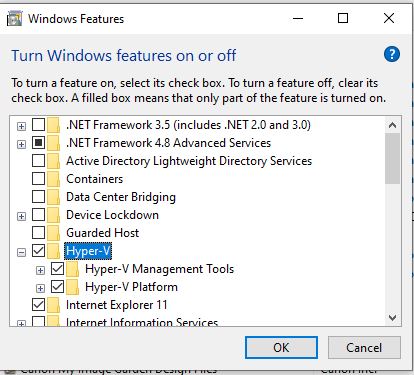
Now, post a reboot, your Hyper V role should be up and running 🙂 Let’s go create some Virtual Machines!