
A VPN server allows you to connect using a secure tunnel.This has a couple of benefits. First, you sort of have control over your data. And it also allows you to access content that might not be available to you due to geo-restrictions
Creating a self-hosted server can be beneficial if you want control over your data, while at the same time, have a VPN you can connect to.
So the question is, how do you go about creating a VPN and where do you host it?
While you can host the VPN on a local machine and get away with it, GCP, AWS or cloud hosting can offset costs as well as reliability plus giving you the flexibility of hosting your server across separate regions
Requirements
VPN requirements are pretty easy. You just need a VM or a host just to host the VPN bit to which you need to connect to. So a Linux VM and a stable network is more or less all that is needed
In this example, I will be using a Linux VM on AWS. Configurations as below:
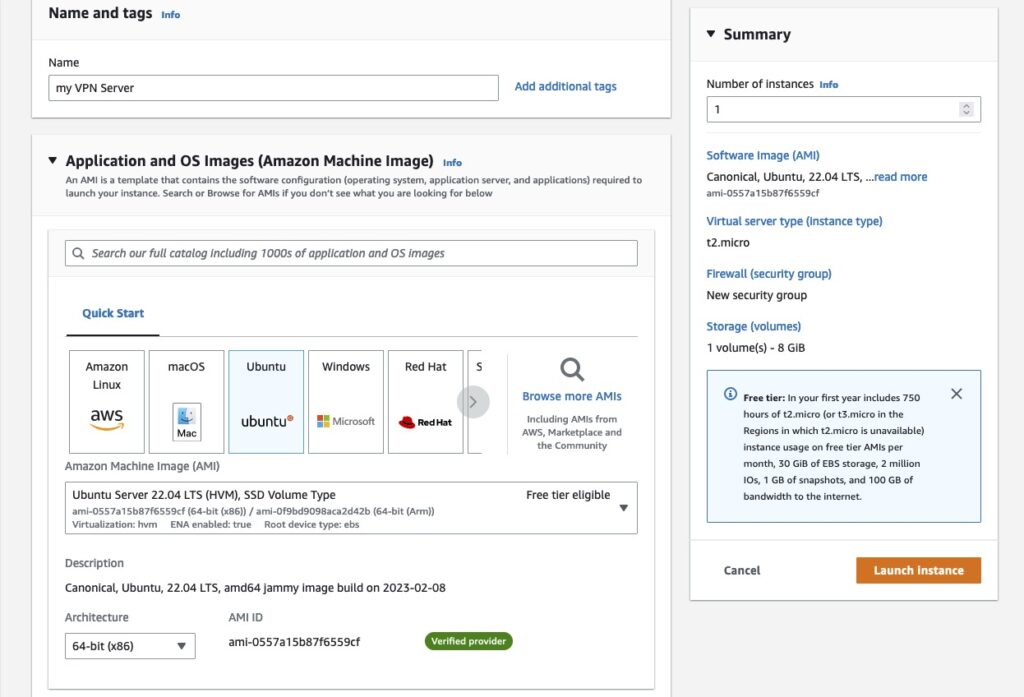
OS – Ubuntu or any Linux distro – doesn’t matter
Instance – I used t2 as this is just a test VPN (I have got a set of “prod” VPNs I have been using for ages now!
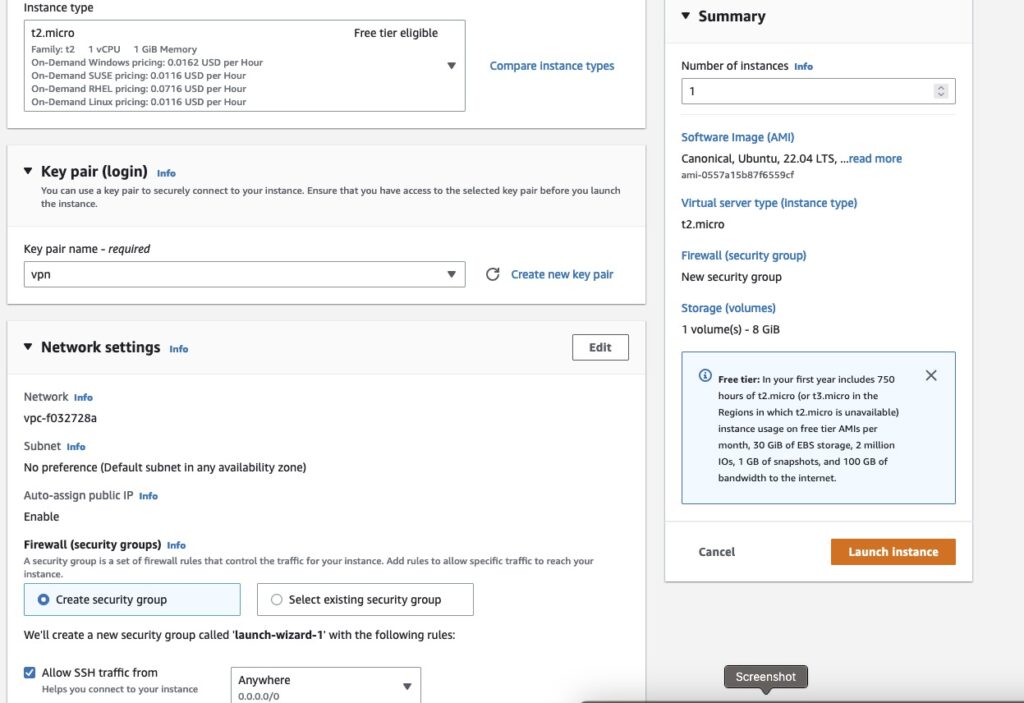
Keypair – absolutely needed – for you to be able to log in to your VM instance
Security Group – best to create a separate SG as you will need to add in rules for TCP and UDP
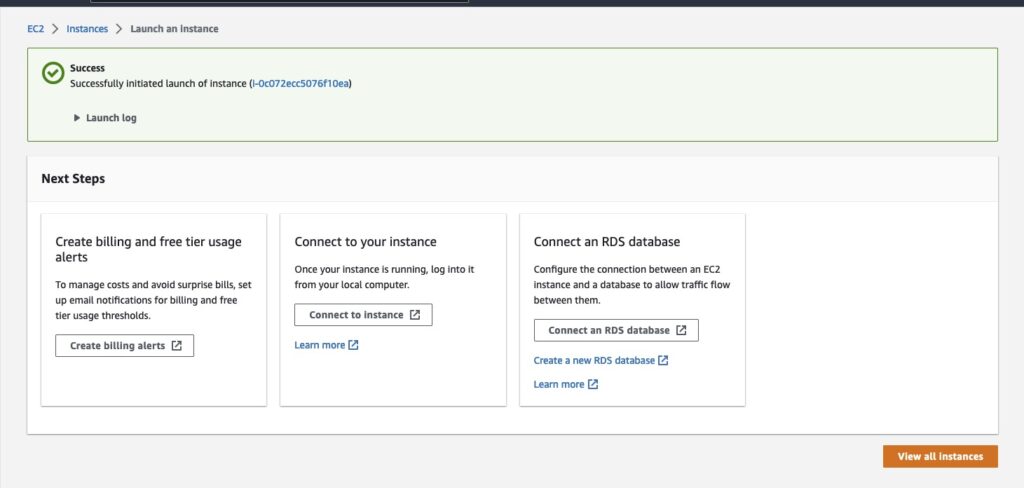
Should everything have gone well, you should now be having a shiny new t2 Ubuntu instance you can see running 🙂
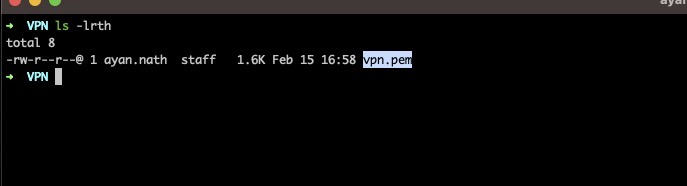
Once the install is done, you can save the key that was generated during install to log into your brand new instance
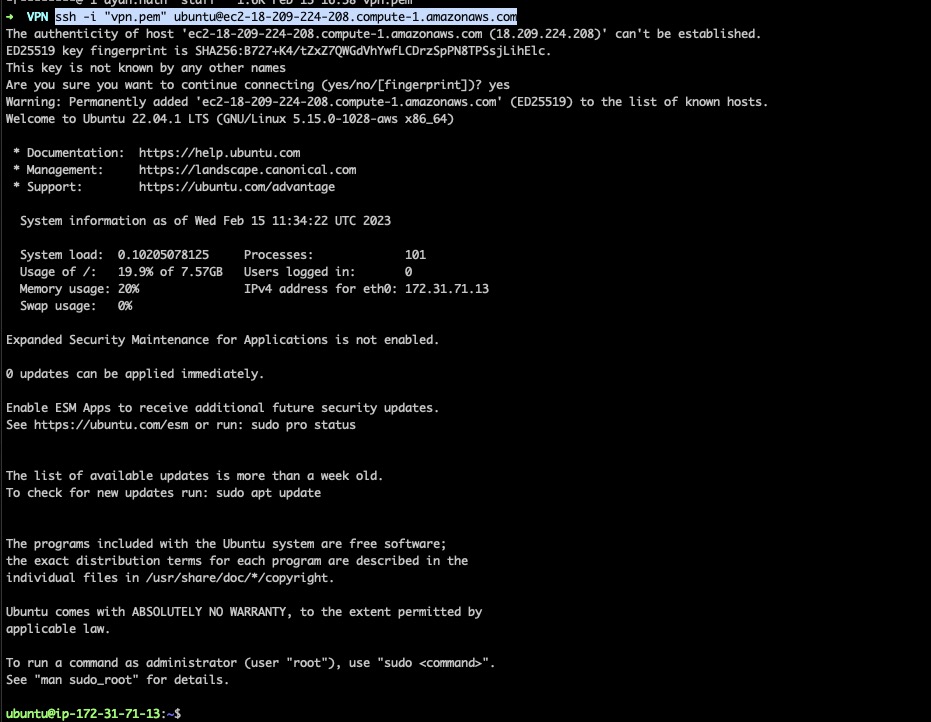
For connecting to your instance just use the ssh -i pem user@instance command to ssh into your Ubuntu instance
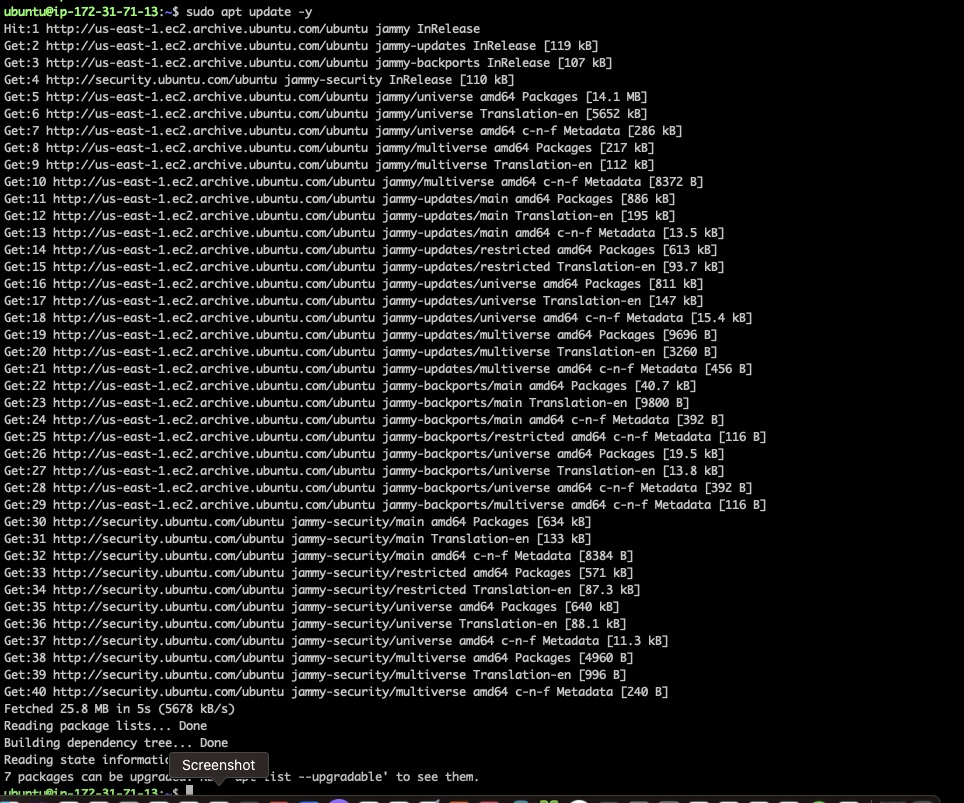
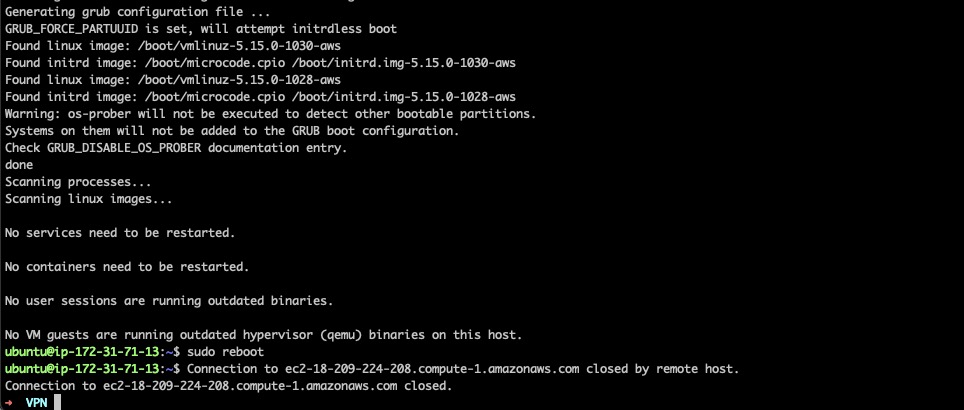
Mandatory package upgrades and a reboot would ensure that the instance is ready for VPN installation
We will be installing the OpenVPN package which can be installed and launched using the command below
Once the download is done, it will launch the installer. Defaults are good to go. You will need to ensure that the server IP etc is correct. By default, you can use the default ports but most ISP don’t play nice with VPNs in general. So I generally install over the TCP and UDP port 443 – which makes installation and configuration easier (for this test)
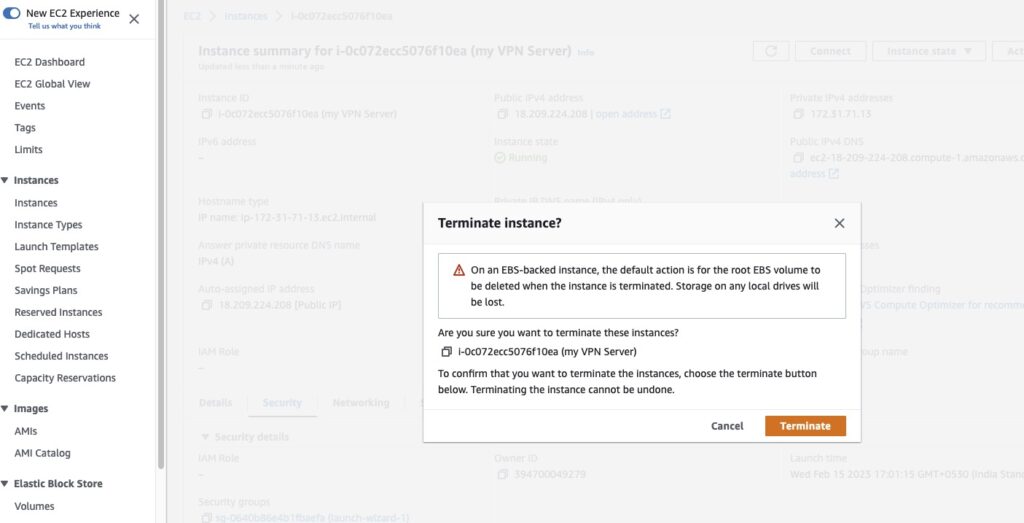
Ensure that the Public IP is correct or else you won’t be able to connect to your server

The Public IP can be checked on the AWS instance settings page – in this instance, the IP is as below. I will be deleting the instance after installation and testing, so sharing the IP as is 🙂

Once installation is done, a VPN configuration file is created. This can either be copied pasted or just downloaded to your local machine. I just used SCP to download a copy of the file locally

Once the file is downloaded, we will need a VPN client for connecting. I just went with the OpenVPN client for Mac

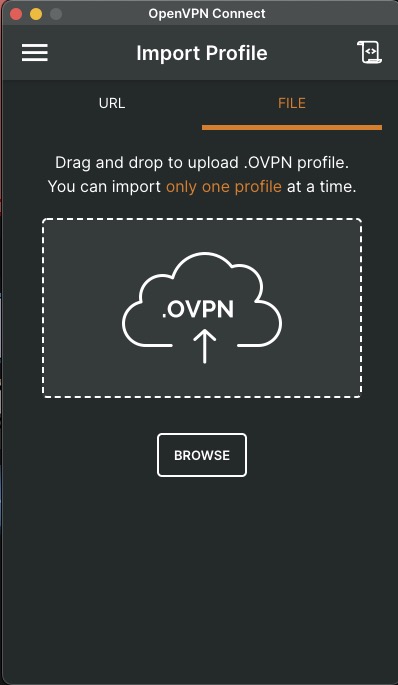
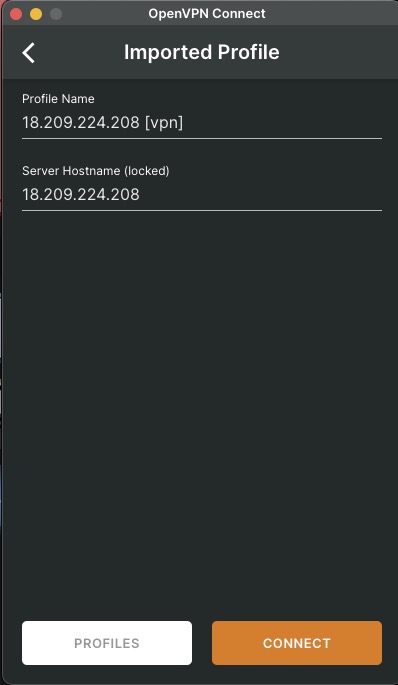
Once install is done, import the VPN configuration by importing the downloaded *.ovpn file downloaded in the previous steps
Once imported, the server details should show up. Again, will be deleting this server instance – so not hiding the IP
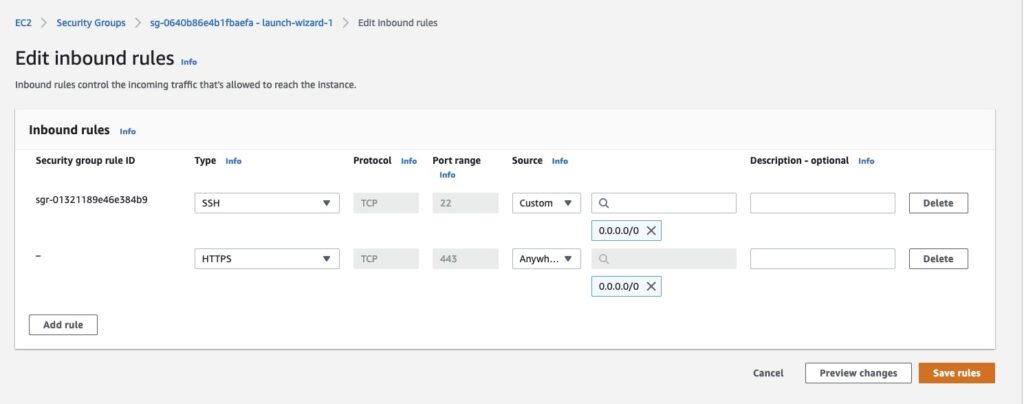
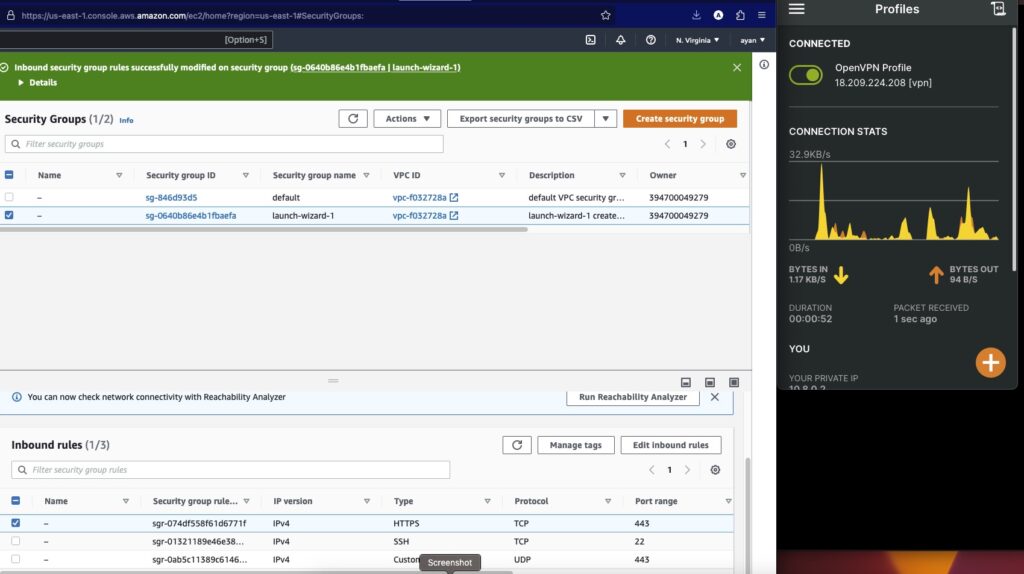
If you are unable to connect, check the Security Group inbound rules for ports and protocols. Depending on your configuration, you will need to allow specific ports, vlans, subnets or protocols through
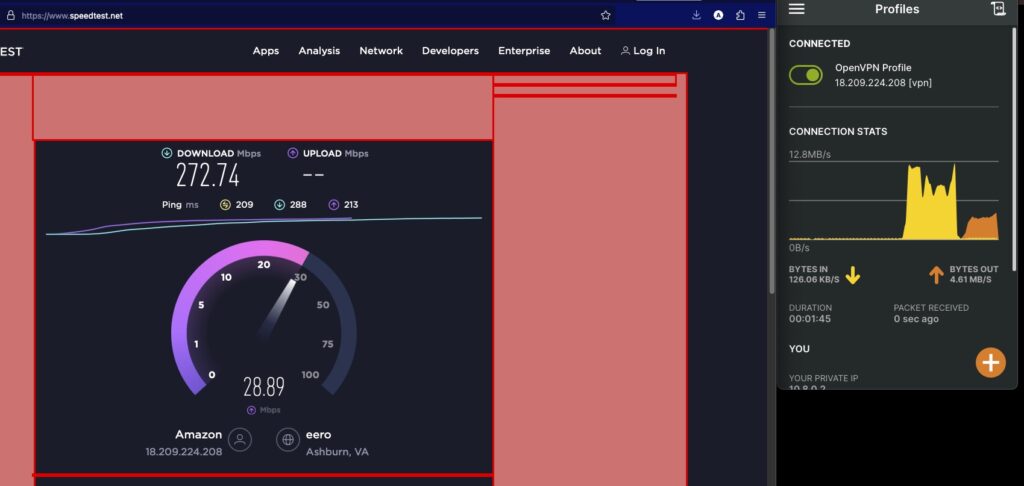
Once you are connected, OpenVPN client will actually show you network stats for the connection 🙂
Now comes the fun part! Speedtest! Fire up speed test and speed test will show you details about your connection. Here, it figures out Amazon and VA as the service, fastest ping route for the client
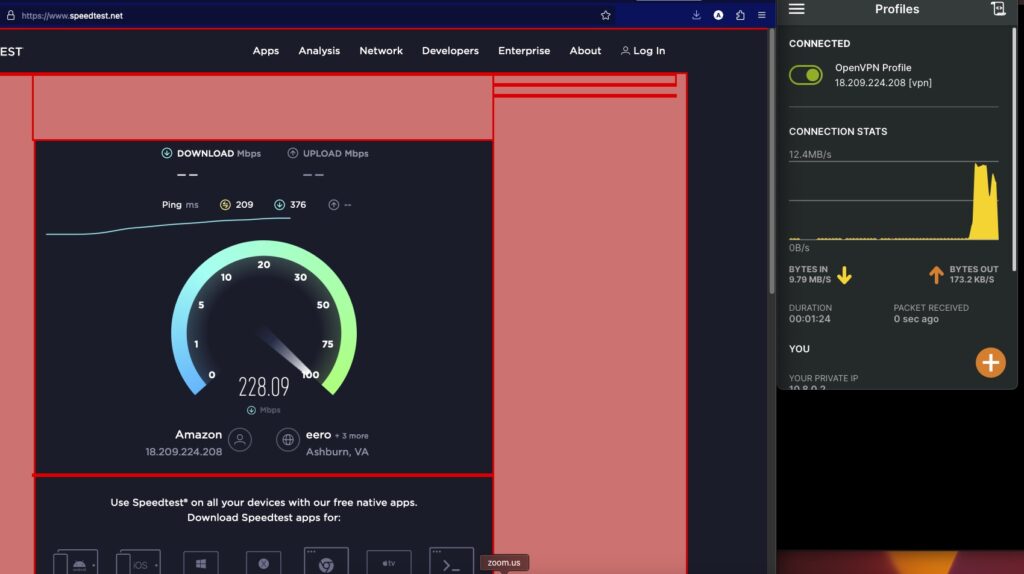
You will see spikes on the client as packets are sent/received! Whoohoo! At this point, you should be connected if all goes well!
At this point, we can safely delete off the VPN and the Security Group settings that were configured for the VM instance
The *ovpn configuration file has the certificates and the connection preferences below
client
dev tun
proto udp
remote 18.209.224.208 443
resolv-retry infinite
nobind
persist-key
persist-turemote-cert-tls server
auth SHA512
cipher AES-256-CBC
ignore-unknown-option block-outside-dns
verb 3
<ca>
-----BEGIN CERTIFICATE-----
x
-----END CERTIFICATE-----
</ca>
<cert>
-----BEGIN CERTIFICATE-----
x
-----END CERTIFICATE-----
</cert>
<key>
-----BEGIN PRIVATE KEY-----
x
-----END PRIVATE KEY-----
</key>
<tls-crypt>
-----BEGIN OpenVPN Static key V1-----
x
-----END OpenVPN Static key V1-----
</tls-crypt>t
Note: the instance has been deleted – so the IP and other details in the screenshots above are no longer relevant – hence have kept the IPs as is!

